JavaScript We Need To Know Before Node.js - PART 3
- Anushka Shrivastava
- Sep 1, 2022
- 4 min read

Updated: Oct 6, 2022
As Node.js uses JavaScript as its programming language, it is important to know about the basics to intermediate level of JavaScript. The official documentation of Node.js recommends having a good grasp on the following concepts:
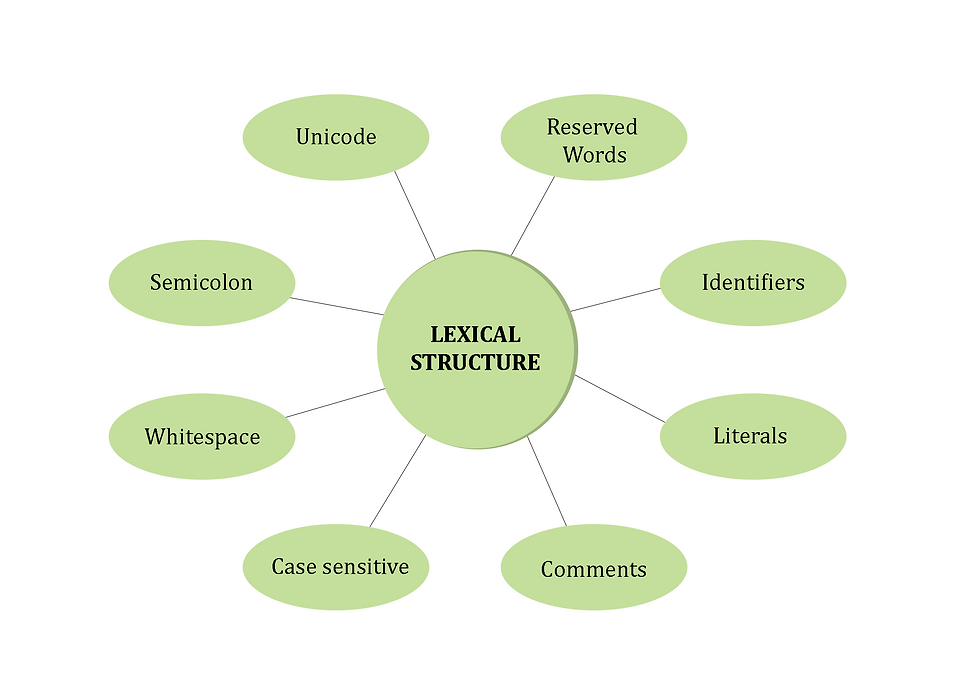
Lexical Structure
Expressions
Types
Classes
Variables
Functions
This
Arrow functions
Loops
Scopes
Arrays
Template literals
Semicolons
Strict mode
In this article, we will be dealing with the following areas of concepts –
This article is a sequel of “JavaScript We Need To Know Before Node.js PART 2”.
Other topics are covered in articles containing part 1 and part 2. You can refer to the following links for the same:
Let us try to understand and take an overview of above mentioned concepts for complete beginners to the subject.
ARRAYS
Arrays are a collection of multiple items which can be stored within name of a single variable.
Arrays in JavaScript are not primitives. The characteristics of arrays of JavaScript are –
They are resizable and can contain values of different data types.
They are zero-indexed, i.e., the first element of the array is at the index 0.
Elements of the array can be accessed by non negative integers as indexes.
In this article, we will only be covering about creating an array and how to access its elements, which are required for now in Node.js.
For more detailed concepts of arrays in JavaScript, you can refer to - https://developer.mozilla.org/en-US/docs/Web/JavaScript/Reference/Global_Objects/Array
Creating an Array
There are three ways of creating an array, they are –
1. Using array literal notation
2. Using the Array() constructor
3. Using String.prototype.split(). This creates array out of a string.
For example –
// Creating array with 1st method
const cars1 = [ “Ferrari” , “BMW” ];

// creating array with 2nd method – using the Array() constructor
const cars2 = new Array(‘Ferrari’, ‘BMW’);

// Creating array with 3rd method – using String.prototype.split()
const cars3 = ‘Ferrari, BMW’.split(‘, ‘);
Accessing an array
Items of an array can be accessed using their index, which should be non-negative integers. Elements can be accessed using syntax - arrayName[ index ];
For example –
const cars = [‘Ferrari’, ‘BMW’];

console.log( cars[0] );    //Output - Ferrari
console.log( cars[1] );    //Output – BMW
TEMPLATE LITERALS
Template literals are the string templates which uses back-ticks (` `) instead of double quotes (“ “) or single quotes (‘ ’).
Template literals posses three main purposes. They are –
1. Use quotes inside strings – Template literals allow us to write single quoted string or double quoted string inside the main string.
2. Use multi-line strings – Template literals allow us to write multi-line strings using back-ticks.
3. String interpolation – String interpolation simply means substituting values from embedded expressions.
Let us try to understand above three purposes of using template literals with the help of an example code -
// Using single quotes and double quotes inside string

let text1 = `Node.js’s my favorite “Subject.”;
//Output - Node.js's my favorite "Subject".

// Multiline string

let text2 =
`This is
an example
of multi-line
string`;
//Output -
This is
an example
of multi-line
string

// String interpolation

let a = 5;
let b = 10;
console.log(‘Product is ${ a * B }`);
// Output – Product is 50
SEMICOLONS
Semicolons are an essential component of JavaScript code. They are read by compiler to distinguish between different lines of code. Using semicolons are not strictly necessary in JavaScript.
The semicolons are optional in JavaScript because of the Automatic Semicolon Insertion (ASI).
Automatic Semicolon Insertion
ASI is a set of rules used by JavaScript to determine the usage of semicolons at certain points in the code.
There are three rules for automatic semicolon insertion. They are-
1. A semicolon is inserted when it comes across a line terminator or a ‘}’.
For example –
let car
let bike
Will become
let car;
let bike;
But here, ASI will not be triggered. Let us take another example to understand when ASI gets triggered.
Example –
let a
b =
3;
Here, the grammar does not expect b to come after a. So, here ASI gets triggered and the code becomes –
let a;
b = 3;
2. A semicolon is inserted when a program gets to the end of an input without any error, when still the program is not completed.
3. A semicolon is inserted when a line break appears. JavaScript terminates the statement unconditionally and adds a semicolon.
For example –
function myFunc() {
    return
    {
    functionType : “int”
    }
}
This will trigger ASI and the code will become –
function myFunc() {
    return;
    {
    functionType : “int”
    }
}
STRICT MODE
Strict mode of JavaScript can be said as a restricted variant of JavaScript. It has different semantics from a normal code.
Strict mode is applied to a specific function or to an entire script and not to block statements. The statement “use strict” is used to instruct browser to use the strict mode.
Invoking strict mode
As we saw above, strict mode can only be applied to an entire script or to a specific function. Let us see how to achieve it.
Strict mode for scripts
To invoke strict mode for an entire script, we use the statement ‘use strict’ at the beginning of the script.
For Example –
‘use strict’;
const x = “This is in strict mode”.
Strict mode for functions
To invoke strict mode in a function, we use the same statement 'use strict' inside the function’s body before writing any other code.
For example –
function myStrictFunc() {
  ‘use strict’;
  return “I am a strict function.”;
}
With this, we come to the end of the topic "JavaScript We Need To Know Before Node.js" comprising of three parts.
You can refer to other parts from the following links -
JavaScript is a very vast language which requires lots of practice and deep understanding of the concepts. These blogs covered very basics of JavaScript required for beginner's level Node.js. It is highly recommended to learn and practice JavaScript from its official documentation for better understanding.
Thank you.


Comments